Materials needed:
- Paper
- Pencil or pen
Instructions:
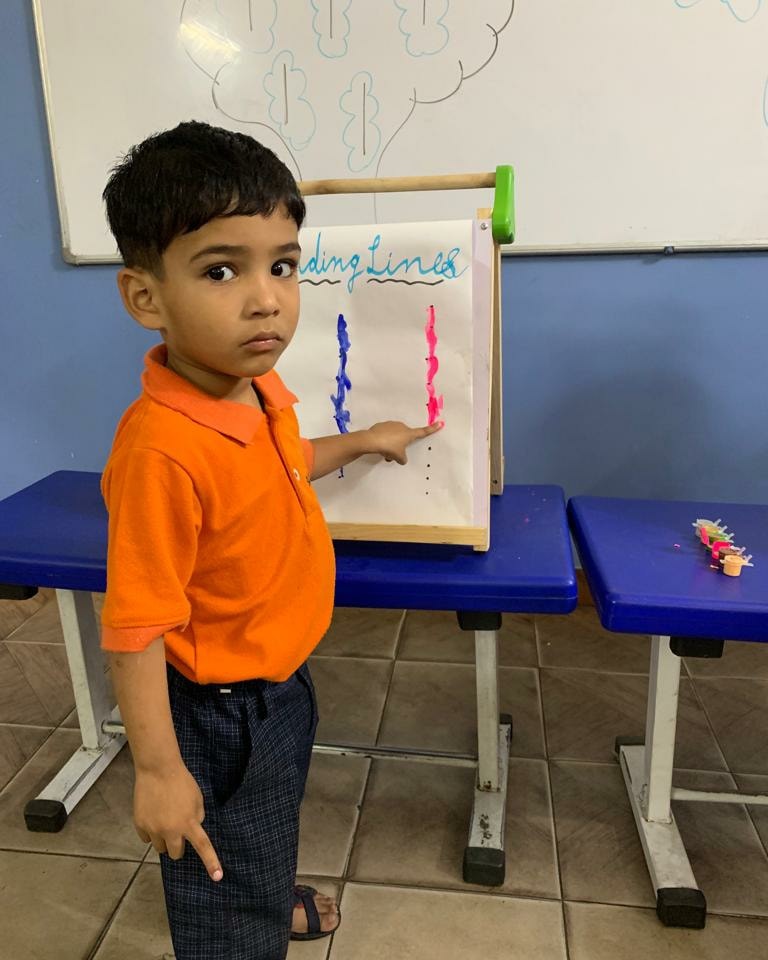
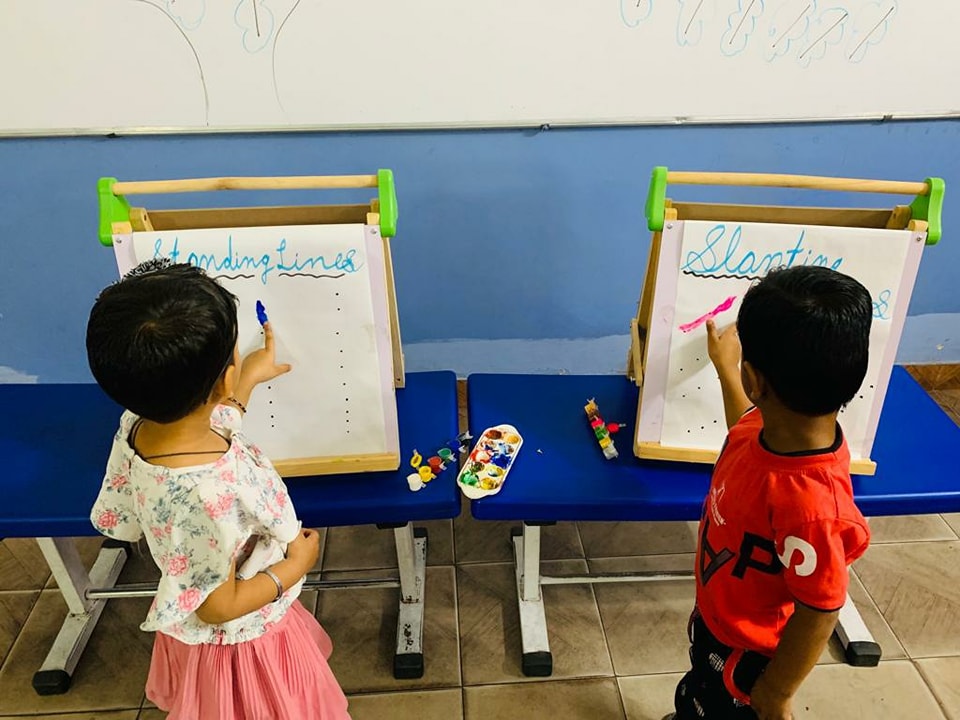
- Start by drawing a standing line on the paper. This can be any length you want, but make it fairly long.
- Next, draw a slanting line that starts at the top of the standing line and goes to the bottom. The slanting line should be at a 45-degree angle, so it creates a diagonal with the standing line.
- Draw another slanting line that starts at the bottom of the standing line and goes up to the top. This line should also be at a 45-degree angle, but in the opposite direction from the first slanting line.
- Repeat steps 2 and 3, drawing several more slanting lines that alternate direction and connect with the standing line at the top and bottom.
- Once you have several slanting lines, you can start to fill in the spaces between them with different shapes or patterns. For example, you could draw triangles, squares, circles, or zigzag lines.
- Keep going until you have filled in all the spaces between the slanting lines, creating a geometric design.
This activity can help develop hand-eye coordination, spatial reasoning skills, and creativity. It’s also a great way to practice drawing straight lines and angles. You can vary the length and angle of the slanting lines to make different designs, and experiment with different shapes and patterns to fill in the spaces.
Suraj School Mahendergarh
#Standing & Slanting line activity # Fun and engaging activity#Students of grade Nursery